
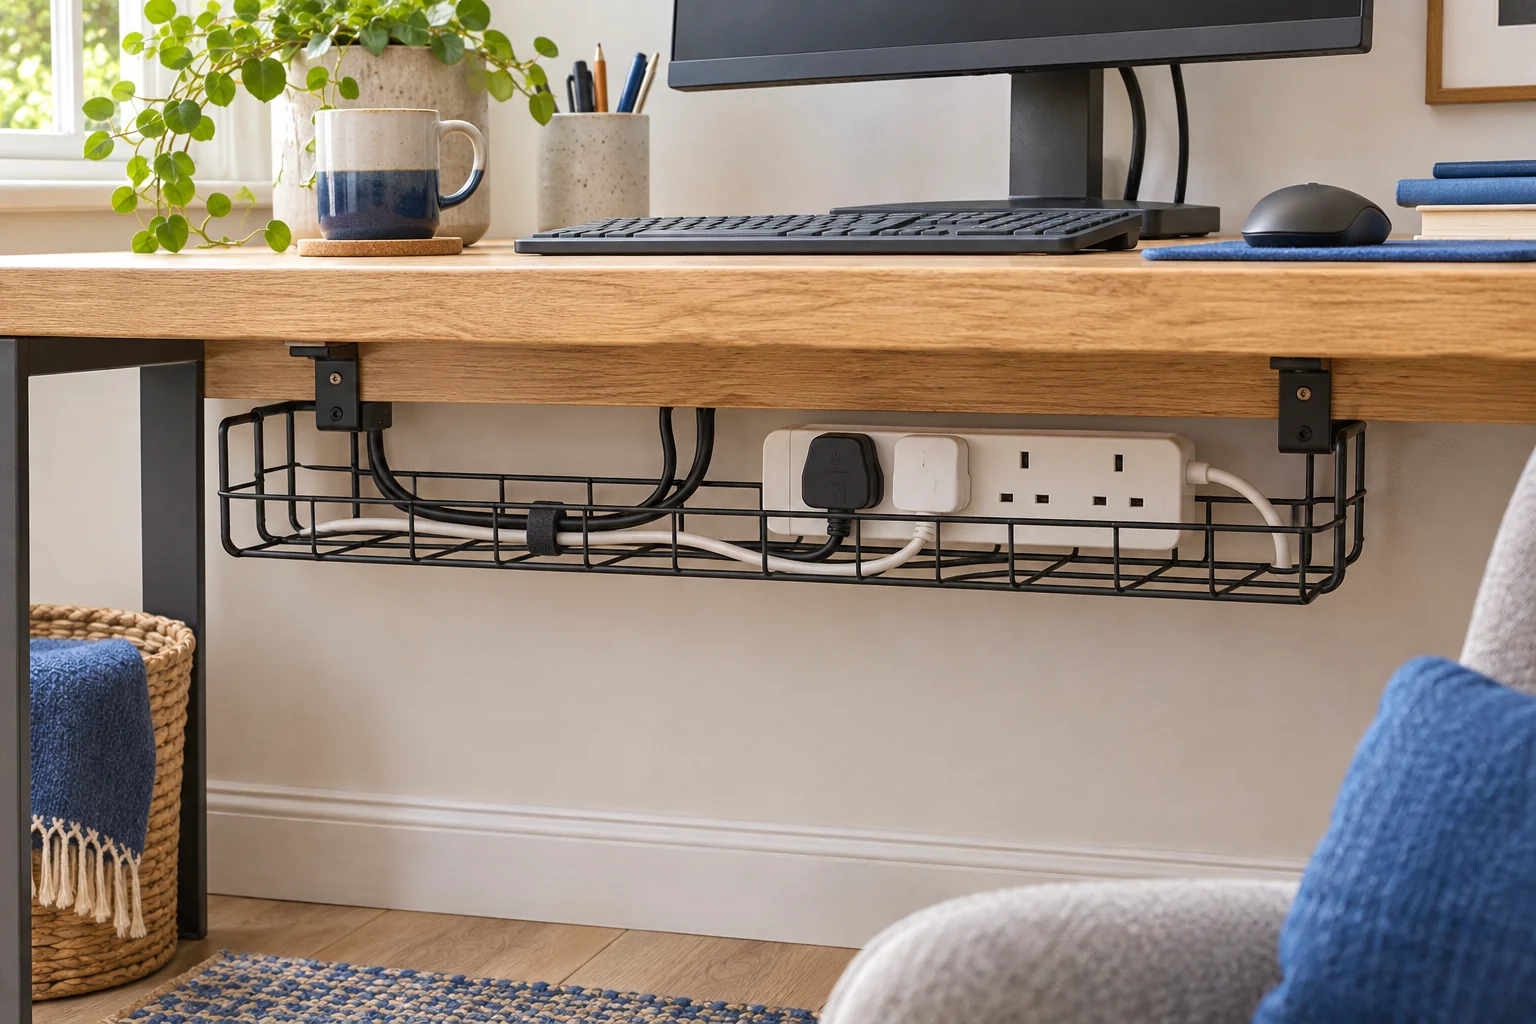
The fit comparison
Compare the published fit limits
Use the published outer size to check where each tray could sit. Measure the usable space with plugs and leads attached.
Scroll across the table for every fit check.
| Model | Mount | Outer size | Check first |
|---|---|---|---|
| Duronic CMH1 screw-fit cable tray For an approved screw fixing | Screw-fit | Approx. 43 × 16 × 11.5 cm | Top material and permitted screw location |
| Duronic CMH2 clamp-on cable tray For a flat, accessible edge | Two edge clamps | 40 × 16 × 17 cm | Approx. 5–30 mm opening and space for both knobs |
Measure the plugs with their leads attached
Put the extension block, plugs and power bricks in the arrangement you would actually use. Measure their length and width. Then stand the tallest plug in the block and measure from the base to where the lead can curve naturally. Side-exit leads may need extra room at the ends. A right-angle connector can save height and take up more width.
Tape a rectangle the size of that arrangement on a piece of cardboard. Place the cardboard under the desk and look from below. Include room for the tray’s sides and fixings. A 40 cm tray may look generous when the extension block is 33 cm long. A cable exiting each end, a fixed divider or a sloping side can use the spare length before you have plugged in anything.
The comparison gives outer sizes for planning. If a component nearly fills that envelope, get the usable dimensions from the maker. Check how you will lift the block out or reach its switch with the tray already installed.
Choose a screw-fitted tray for a clear edge
The Duronic CMH1 leaves the desktop edge available for a separately approved monitor clamp or for a desk close to the wall. Its open mesh lets you see connectors and offers several routes out of the basket. The mounting area can be farther forward than a clamp-on model, as long as you check the underside and knee space first.
For an approved screw fixing
Duronic CMH1 screw-fit cable tray
The open mesh basket supports a cable run under the top and leaves the desk edge free.
Confirm the fixing location and screw length with the desk maker. Measure the basket space with the plugs fitted.
- Screw-fit
- Approx. 43 × 16 × 11.5 cm outer
- Open steel mesh
Confirm the desk material, fixing location and permitted screw length with the desk maker. A thick edge can hide a hollow core, and the underside veneer alone may offer little hold. Follow the tray instructions and avoid drilling around concealed wiring, lift controls or moving frame parts. The desktop material guide explains how to find out what the top is made of.
Choose a clamp-on tray for an accessible rear edge
The Duronic CMH2 is useful when the top has two flat clamping spots and you want to remove the tray later. The manufacturer’s diagram shows an opening of approximately 0.2–1.2 inches, or 5–30 mm. Measure the top at both spots, then check that the pads can sit flat and you can reach the adjustment knobs.
For a flat, accessible edge
Duronic CMH2 clamp-on cable tray
Two screw-adjusted clamps hold the open steel basket against a compatible desktop edge.
Check both clamp pads have a flat landing spot. Allow room for the knobs and any monitor-arm fixing.
- Clamp-on
- 40 × 16 × 17 cm outer
- Approx. 5–30 mm clamp opening
A 24 mm top can meet the thickness range and still fail if a cable rail sits just behind the lower jaw. Turn the tape sideways and check how far inward the jaw needs to land. Mark the tray and monitor arm positions at the same time. Allow room to tighten each fixing independently and route leads past both.
Leave room for access and movement
Use a tray as support for a tidy setup with room around adaptors. Keep the extension block’s switch and plugs accessible, and follow the electrical equipment instructions about ventilation. Electrical Safety First advises against connecting one extension lead to another or exceeding the extension lead’s rating. Clear access makes a lead easier to inspect and unplug.
Sit down and move both feet. Pull the chair in and test the full depth of the opening before filling the tray. On an adjustable desk, also check the tray against the frame throughout its travel. Use the standing-desk cable guide to plan the lead that still has to reach the wall.
Once you have a possible location, measure the space you have to remove the longest plug. Some can be lifted straight up. Others need to come out sideways because the worktop is directly above them. If you cannot remove a plug after installation, choose a more accessible position.
Common questions
Can a cable tray hold a UK extension block?
Compare the usable basket width, length and height with the block and fitted plugs. Check the weight of the whole arrangement and leave space for airflow and access.
Should I buy a clamp-on or screw-fit cable tray?
Choose a clamp-on tray where the desk has a compatible flat edge. A screw-fit tray needs a suitable fixing surface and the desk maker’s approval for that location.
Will a cable tray fit with a monitor arm?
It can if the two fixings have separate landing areas and enough room for access. Map both before buying.
How far below the desk should a tray sit?
It needs enough space above for the plugged-in equipment and enough space below for your legs. Measure from your actual sitting position.
How do I fit a tray to a standing desk?
Check where the frame, controls and cables move before installing. The tray should have clearance throughout the desk’s travel.
Sources and selection
Sources and Amazon UK listings checked in November 2026. This guide uses published specifications and fitting guidance.