
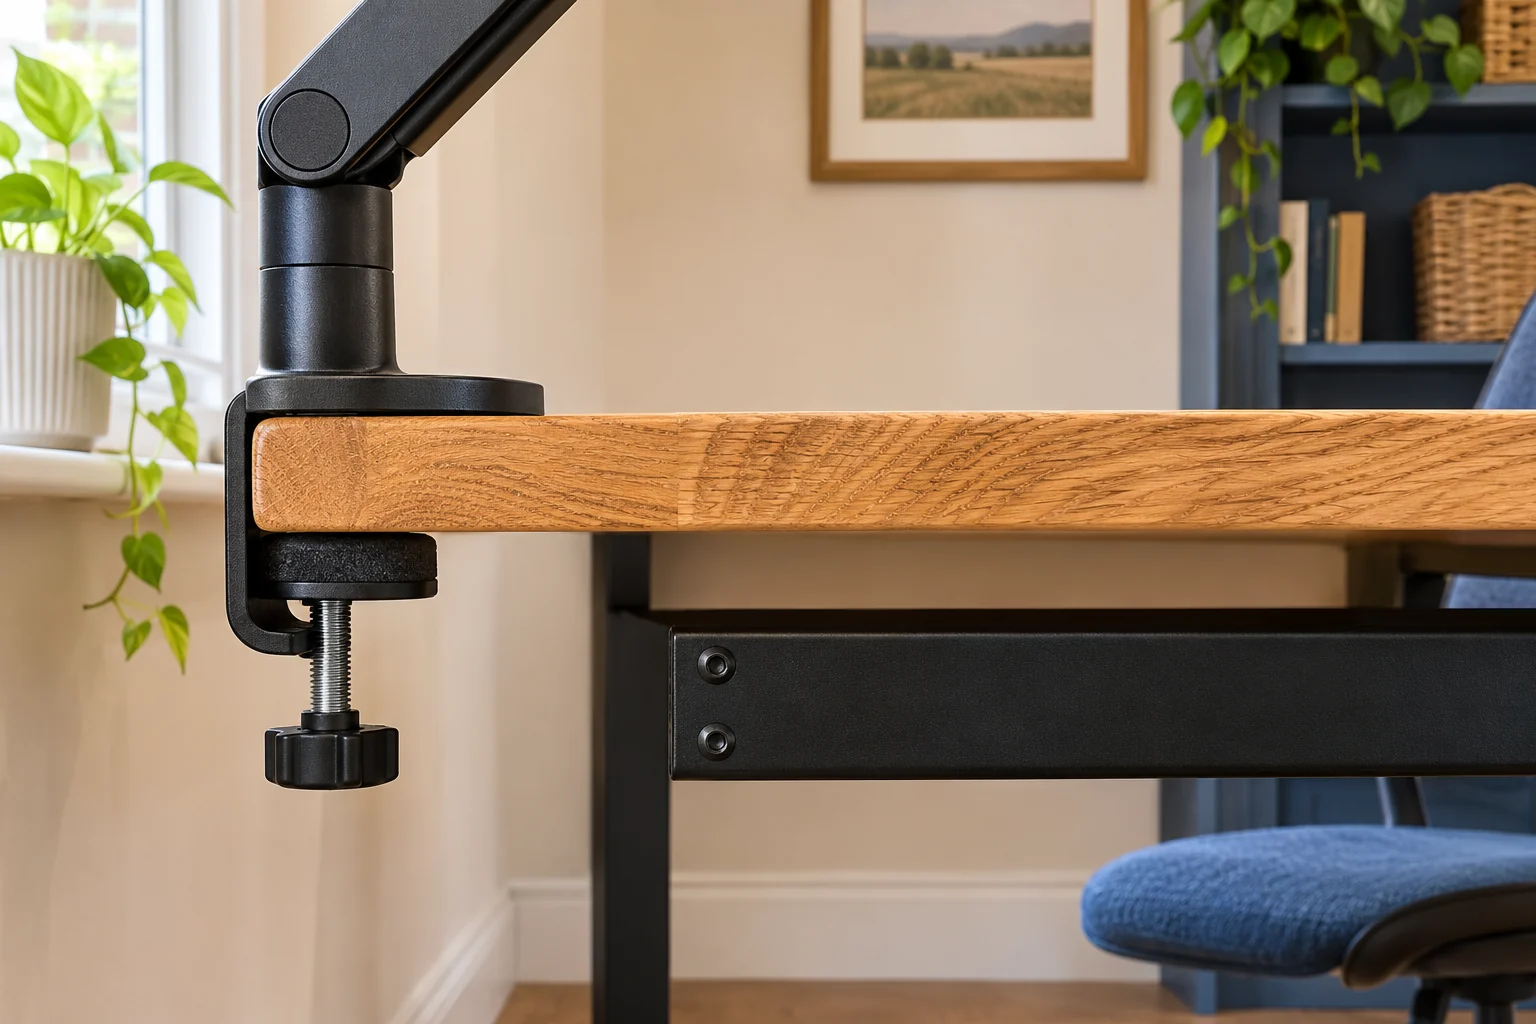
Sketch a side view through the fixing point
Measure back from the rear edge to the first face of the rail. Then measure down from the underside to the rail’s lowest point. Note any welded tabs, screw heads or cable trays nearby. Repeat the measurements where you might shift the mount sideways. A centre bracket can make one point much tighter than the rest of the edge.
For example, if a rail starts 30 mm in from the rear edge and the lower pad needs 42 mm of clear depth, the pad will intersect the rail even if the clamp opens wide enough. If a maker drawing gives a smaller requirement, check the whole assembly and the approach path. The pad can fit in its final position and still be impossible to slide into place.
Read what the maker means by low profile
Look for a dimension drawing of the jaw below the desk. A low-profile arm can refer to the screen’s position above the desk. A low-profile clamp can reduce the required clear strip or underhang, and a top-tightened design changes how you reach the screw. Neither description alone gives the footprint of the pad.
For example, Ergotron’s separate LX Pro low-profile configuration specifies a clear area under the top up to 38 mm deep. Match the clamp part number to the drawing. A standard LX Pro listing can include a different base. Measure the usable strip, the clearance below it and the space needed by the supplied tightening tool.
Compare an approved through-desk position
The VIVO STAND-V001 includes a clamp and a through-desk option. Use the clamp only where its full lower pad clears the rail. If the desk maker permits a through-desk fitting, check whether a suitable hole away from the rail meets the manual’s requirements and whether the lower washer can sit flat there.
Set the height and leave it
VIVO STAND-V001
A mechanical pole arm gives one screen reach and swivel without a gas spring to balance. It suits a working position you adjust occasionally rather than several times a day.
Support the screen before releasing the height collar. The website and manual differ slightly on maximum clamp thickness; confirm your supplied instructions near the limit. Curved screens need model-specific confirmation.
- 13–32″ standard; up to 38″ ultrawide
- Up to 22 lb (about 10 kg)
- VESA 75 × 75 or 100 × 100 mm
Check that the arm still reaches the working position from that point. A fitting moved forwards can take away useful worktop depth or bring the screen closer. Try a template at the new position before choosing it.
Keep the fitting above the desk if neither option fits
The freestanding Duronic DM15D1 uses a published 36 × 22 cm base footprint and supports compatible 13–32 inch screens up to 8 kg. It avoids using the rail as a fixing. Check that the base stays fully on a suitable stable surface and that you still have room for the keyboard and plugs.
A broad freestanding base
Duronic DM15D1
A replacement upright stand for one compatible screen when you cannot attach a clamp. The published UK base footprint gives you a useful starting point for a paper template.
Use the manual-backed 8 kg limit and ±15° tilt; some manufacturer page text conflicts. UK published base is 36 × 22 cm. Confirm the current variant dimensions and desired screen-centre height before ordering.
- 13–32″
- Up to 8 kg
- VESA 75 × 75 or 100 × 100 mm
Do not set a lower pad partly on a rail or pack out an uneven surface with loose material. Use a mount and fixing the manufacturers approve for the actual desk. If you also need a large jaw opening, check the thick-worktop guide.
Common questions
What is the key measurement behind a rear rail?
Measure the flat strip from the edge to the rail, plus the rail drop and room for the tool.
Does a top-tightened clamp avoid the rail?
It changes how you tighten it. Check where the lower pad and hardware still need to sit.
Can the pad rest on part of a rail?
Use the approved flat bearing surface and exact installation instructions. Check with the manufacturers if the location is uncertain.
Does low profile mean the same thing on every listing?
No. Check whether the description refers to the screen, arm or clamp and read the lower-jaw drawing.
Can I use a cable hole instead?
Only where the desk and mount makers approve it and the hole, top and underside contact meet the instructions.
Sources and selection
Sources and Amazon UK listings checked in November 2026. This guide uses published specifications and fitting guidance. The Ergotron example is a separate low-profile configuration. Check the clamp number in the fitting drawing.