
Measure across and down
Start with the model label on the back of the monitor. Look up the manufacturer's mounting specification and stand-removal instructions. Some screens hide their fixing points under a cover or the original stand bracket.
Measure from the centre of one hole to the centre of the next across the top row, then between the top and bottom holes on one side. Record both measurements in millimetres. A 75 × 75 mm pattern and a 100 × 100 mm pattern use different hole positions, even when one plate offers both.
Check the space around the holes
A correct pattern can still leave the plate unable to sit flat. Measure the opening around a recessed fixing area and compare it with the plate's outline. Check that the plate clears raised plastic, cable sockets and any removable cover.
Use the screw type, length and any spacers specified for the exact monitor and mount. A screw that bottoms out before the plate is secure or a plate pressing on the screen casing needs a different approved arrangement. Ask the manufacturer if either instruction set is unclear.
Check weight separately
Find the monitor's weight without its original stand. Include any adapter that will remain attached. Compare that total with both the minimum and maximum load of a gas-assisted arm.
For a curved or unusually deep screen, ask the arm maker to confirm the exact display with its tilt head. Screen diagonal, hole pattern and mass are separate parts of the decision.
Match the arm to the desk too
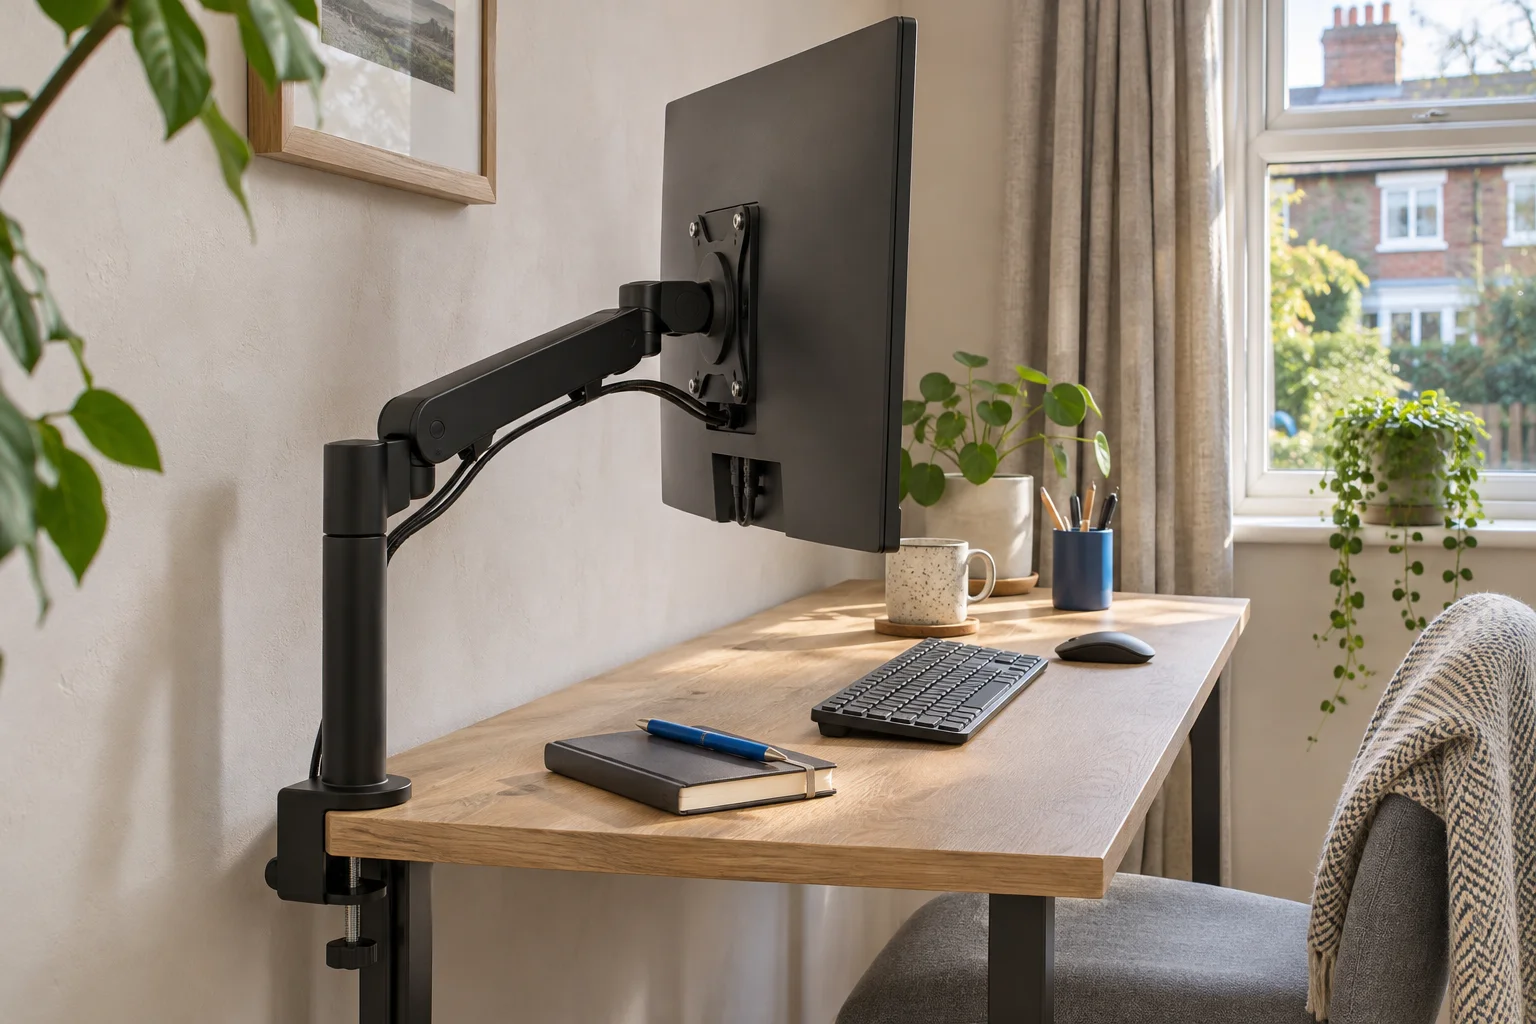
The Invision MX200 is one option when a 19–32-inch display has a 75 × 75 mm or 100 × 100 mm pattern and weighs 2–9 kg without its stand. Measure the desktop edge and the elbow clearance before choosing it.
An everyday adjustable screen
Invision MX200
The gas-assisted arm suits a single compatible screen you move between tasks. It frees the desk from a broad stand and gives you a choice of edge clamp or through-desk fixing.
A centred clamp can leave the elbow in the way of the wall. Check whether the clamp can sit to one side while keeping the screen centred. Match the fitting diagram to the base supplied.
- 19–32″
- 2–9 kg
- VESA 75 × 75 or 100 × 100 mm
If the desktop is shallow, compare the three mounting approaches in our shallow-desk guide. Its fit finder checks the published ranges and flags the remaining questions.
If the manual shows no mounting holes, check options for a monitor without VESA holes before choosing a bracket.
If you need to remove the display regularly, check the fit and release path of a quick-release plate.
Common questions
Does 100 × 100 VESA mean a 100 mm-wide plate?
It describes the horizontal and vertical spacing between mounting-hole centres. The plate itself can be larger, so also check its outline against any recess in the monitor casing.
Can I use any screws that fit the holes?
Use the type, length and spacers specified for the exact monitor and mount. A screw can engage the thread yet be too long or too short for a secure installation.
Does a matching VESA pattern prove the arm fits?
No. Check bare-screen weight, size and curvature limits, plate access, fasteners and the desk attachment separately.
What if the mounting holes are hidden behind the original stand?
Follow the monitor maker’s stand-removal and cover instructions. Protect and support the display as directed before measuring the exposed hole pattern.
How do I check a recessed mounting area?
Measure the recess opening and compare it with the plate’s outside dimensions. Confirm the approved screws and spacers can secure the plate without pressing on the casing.
Sources
See the Invision MX200 specifications and fitting instructions and Invision's mounting-pattern guidance. Refer to your exact monitor's own manual for its holes, fasteners and stand-removal steps.