
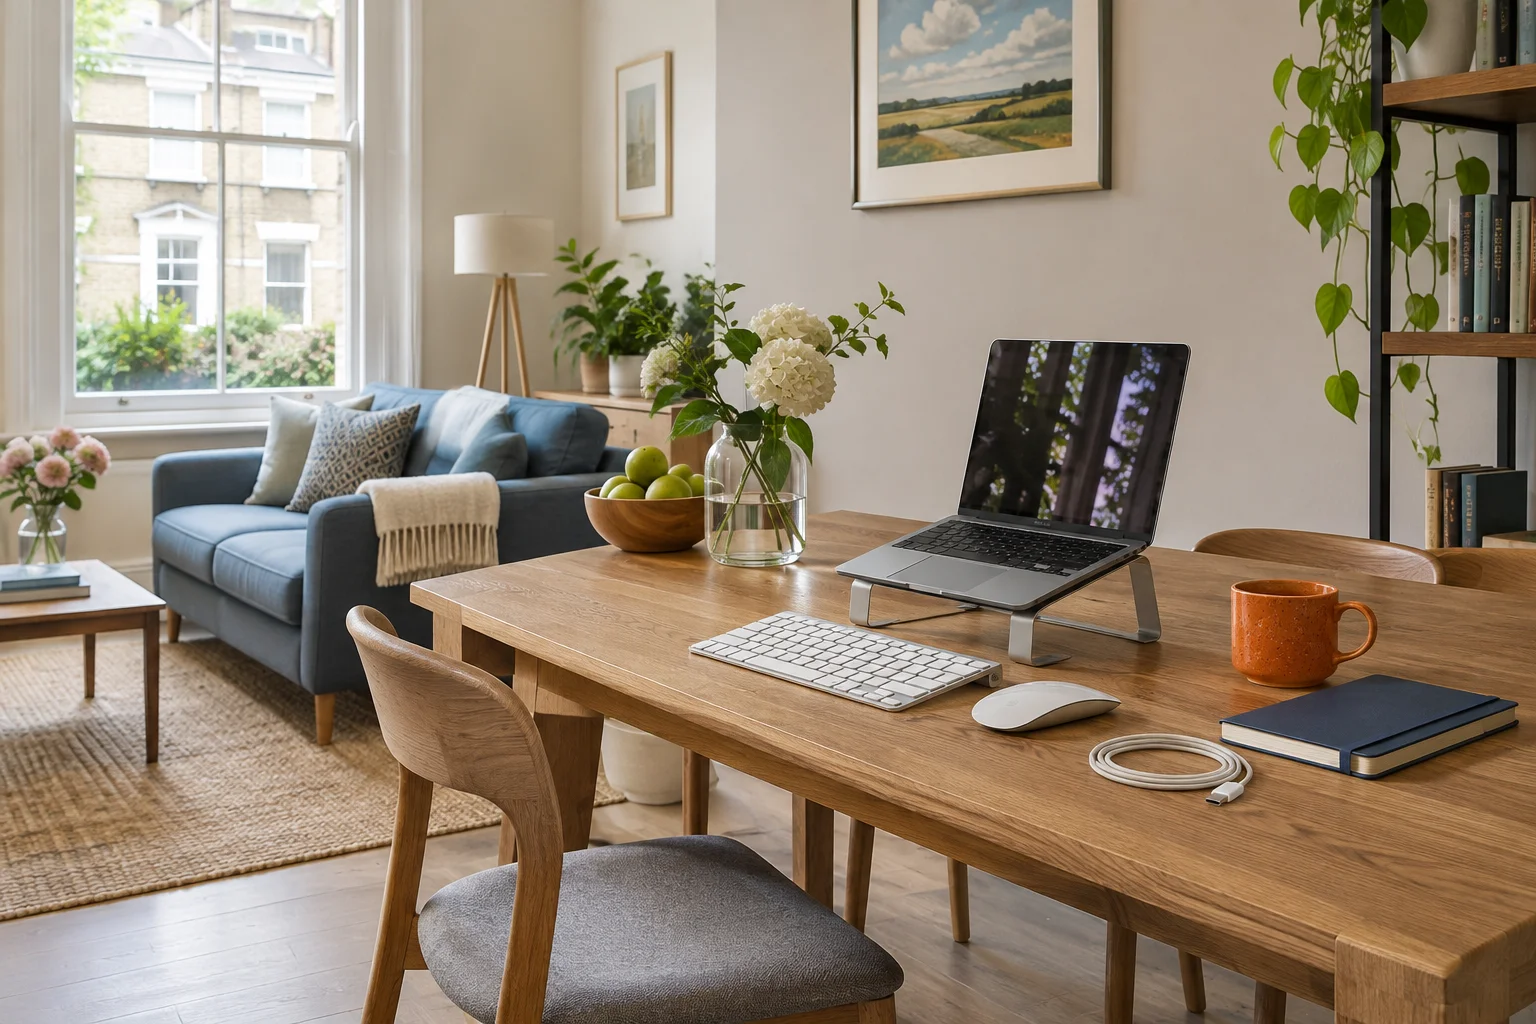
Compare 40, 50, 60, 70 and 80 cm desk depths
Two desks with the same listed depth can leave very different space for your keyboard and other equipment. The useful comparison starts with where the screen face sits relative to the rear worktop edge. A deep stand or an arm that projects forwards can use up part of the extra depth you thought you were buying.
The table subtracts three illustrative screen-face offsets from five worktop depths. The 12, 16 and 20 cm offsets are example inputs, not typical measurements for particular monitors or mounts. Every result is the front-to-back distance from the screen face to the front worktop edge; a stand base can still occupy some of that area.
On a narrow screen, scroll across for all three screen positions. All measurements are in centimetres.
| Worktop depth | Screen face 12 cm from rear | Screen face 16 cm from rear | Screen face 20 cm from rear |
|---|---|---|---|
| 40 cm | 28 cm | 24 cm | 20 cm |
| 50 cm | 38 cm | 34 cm | 30 cm |
| 60 cm | 48 cm | 44 cm | 40 cm |
| 70 cm | 58 cm | 54 cm | 50 cm |
| 80 cm | 68 cm | 64 cm | 60 cm |
What changes when you add 10 cm of depth?
At the same screen-face offset, another 10 cm of worktop adds 10 cm in front of the screen. In the middle column, moving from a 50 cm top to a 60 cm top increases the result from 34 to 44 cm. If the larger desk also lets the screen sit differently, measure that new position before comparing the result.
A 40 cm top is worth checking carefully when a separate keyboard and a monitor stand must share it. At a 20 cm offset, it leaves only 20 cm in front of the screen before considering the stand base. A 70 or 80 cm top offers more space at the same offset, but also projects farther into the room. Choose from your equipment layout and available room, rather than treating one depth as a universal answer.
Keep three measurements separate

Worktop depth runs from the rear edge of the top to its front edge. Screen-face offset runs forwards from that same rear edge to the face of the display. Rear gap is outside the top, between its rear edge and the wall or obstruction. Keeping the same starting point prevents a rear gap being counted twice.
The screen's face and the back of its stand are different reference points. A base can project towards the keyboard, even when the screen itself sits farther back. Trace the complete base and plugs as well as marking the screen-face line. With a curved display, use the centre of the screen face as your reference and check the side edges separately.
Calculate your available depth
Put your measurements to work
Desk-depth calculator
Start with the example, then enter your own measurements in centimetres. The front-space allowance is the depth you want for your keyboard and the space in front of the screen, based on your own layout.
- Surface in front of screen
- 44 cm
- Beyond your allowance
- 6 cm
- Wall-to-front footprint
- 65 cm
60 cm − 16 cm = 44 cm in front of the screen. Compared with the example 38 cm allowance, this is 6 cm extra. 60 cm + 5 cm = 65 cm from wall to front edge.
Results are dimensional calculations, rounded to 0.1 cm. Check the equipment base, cables, viewing distance, chair and movement separately. A positive difference does not establish that the whole arrangement fits.
How the calculations work
The same arithmetic underlies the table, diagram and calculator. It describes a screen face positioned above the worktop, between its rear and front edges. A screen outside those edges needs a separate layout drawing.
Surface in front of screen = worktop depth − screen-face offset.
Surplus or shortfall = surface in front of screen − your front-space allowance.
Wall-to-front footprint = worktop depth + rear gap.
With the example inputs, 60 − 16 = 44 cm in front of the screen. If your own planned arrangement needs 38 cm there, 44 − 38 = 6 cm remains beyond that allowance. A 5 cm rear gap makes the footprint 60 + 5 = 65 cm. The 38 cm allowance is just an example; enter the space you need from a layout of your own equipment.
An exact match leaves no extra space beyond the allowance you entered. A shortfall tells you how much the chosen dimensions fall below it. Neither result checks the stand's footprint, side-by-side equipment, chair position, drawer clearance or the way you use the desk. A positive difference can still leave an obstructed or awkward arrangement.
Changing the screen position instead of the desk
On a 50 cm top, moving the screen-face offset from 20 to 12 cm changes the result from 30 to 38 cm. That is an 8 cm difference without changing the top. It is a useful comparison only if the stand or mount can actually hold the screen in that position, with the base supported, cables clear and the display readable.
Moving the desk away from the wall has a different effect. Increasing the rear gap from 5 to 10 cm adds 5 cm to the room footprint, but leaves the surface-space calculation unchanged if the screen's position on the top stays the same. It may give an arm more room to fold; any resulting screen movement must then be measured separately.
Apply the same calculation to two desk sizes
These two Amazon UK configurations illustrate a 50 cm and a 60 cm top. To compare depth fairly, the last column uses the same illustrative 16 cm offset for both. It does not claim that either desk places your monitor there. The source links alongside the published dimensions let you check the input separately from the derived result.
Scroll across on a small screen. Width × depth refers to the published worktop size.
| Desk configuration | Published width × depth | Surface in front at 16 cm offset |
|---|---|---|
| VASAGLE LWD40XRustic brown and black | 100 × 50 cmManufacturer dimensions | 50 − 16 = 34 cmCheck the stand base separately. |
| VASAGLE 120 cm desk with shelvesSelected LWD47X configuration | 120 × 60 cmManufacturer dimensions | 60 − 16 = 44 cm10 cm more at the same offset. |
The extra 10 cm of depth is useful only if the room can take it. The second desk is also 20 cm wider, so this is not a like-for-like footprint change. Keep the chair bay and side shelves in your floor plan rather than comparing the top dimensions alone.
A 50 cm top with an open front
The LWD40X is the smaller of these two configurations. Work backwards from the 34 cm example result: mark your keyboard, mouse and the nearest point of the monitor base, then check whether they can share that space. The published 75 cm worktop height and rear bracing need their own chair and mounting checks.
For a compact open front
VASAGLE LWD40X writing desk
A 100 × 50 cm surface and open front suit a compact laptop or single-screen arrangement.
Check the rear bracing, the 75 cm working height and the usable depth with cables in place.
- 100 × 50 cm top
- 75 cm worktop
- Open front with rear bracing
A 60 cm top when the room has more depth
The 120 cm VASAGLE adds worktop depth and width. Its shelves can sit on either side; check the remaining chair opening and the side on which you need to approach. The UK listing gives a 76 cm height, while the manufacturer's related ULWD47X page lists 75 cm. Both show a 120 × 60 cm footprint. Use the dimensions for the exact supplied version when checking chair height.
For a deeper work surface
VASAGLE 120 cm desk with side shelves
The 60 cm top gives a laptop and a monitor more depth for their bases, plugs and separate inputs.
Check the usable chair bay with the shelves on the side you choose and allow room behind the screen.
- 120 × 60 cm top
- 76 cm worktop
- Shelves fit either side
Lay out the equipment before choosing a depth
Put your keyboard and mouse on a table and sit at a position you can maintain comfortably. Place the screen where you can read it without leaning forwards. Mark the proposed front and rear worktop edges with tape. Include any notebook, drawing tablet or paperwork you regularly keep open while typing.
Trace the monitor base, laptop stand or riser with its plugs fitted. A small base depth does not necessarily put the screen face close to the rear edge: the upright, screen casing and tilt position also affect that line. A shelf above the desk can limit where the screen can move even when the worktop itself is clear.
For a laptop raised on a stand, allow for a separate keyboard and mouse. HSE's workstation setup guidance illustrates that arrangement and gives around an arm's length as a starting point for screen position. The calculator's surface result is a different measurement, so check your actual eye-to-screen distance while seated.
With a laptop and a separate monitor, check both width and depth. Their bases may need overlapping areas even when each fits individually. The laptop-and-monitor desk guide explains the combined arrangement. A desk converter needs a further check for its keyboard tray, support and movement.
Plan the mount before counting extra space
A monitor arm can remove a broad stand from the top. Its elbow may also move the display forwards if it cannot fold behind or along the desk. Compare the mounting approaches for shallow desks and measure the intended screen-face position before assuming an arm solves a depth problem.
Keep the desk material, edge thickness, clamp landing area and arm movement separate from the depth calculation. For a raised screen without a clamp, compare riser depth with the full monitor base. No base or mounting plate should rely on an unsupported overhang.
Check the footprint beyond the worktop
Mark the desk depth plus rear gap on the floor, then add the actual space your chair occupies as you sit, stand and move away. The wall-to-front result stops at the desk edge. It does not include a person or a route past them. Open the room door, wardrobe and nearby drawers with the chair in its working position.
Check the desk underside for drawers, rails, trays or bracing that reduce knee space or block chair arms. Use the chair-clearance guide alongside your depth comparison. For a tight corner, the bedroom layout guide brings desk, chair and room movements together.
Once those checks agree, compare compact fixed desks or check seated and standing worktop positions in the desk-height guide. Keep the measurements with your shortlist so a change of stand, screen or chair does not silently change the arrangement you planned.
Common desk-depth questions
Is a 60 cm-deep desk enough?
It depends on the equipment and screen position. With a 16 cm screen-face offset, a 60 cm top leaves 44 cm in front of the screen. That is a surface-space calculation, not a viewing-distance or comfort recommendation. Check your monitor base, plugs, keyboard and seated position.
Does a monitor arm always save desk depth?
It removes the original stand, but an elbow that cannot fold behind or along the desk can bring the screen forwards. Compare the actual screen-face position and the rear gap before counting any extra space. Check the desk's mounting suitability separately.
Should I include the gap behind the desk?
Add it to the desk depth when planning the room footprint. For example, a 60 cm desk with a 5 cm rear gap reaches 65 cm from the wall to the front edge. The gap does not add usable worktop space in front of the screen.
How do I check a desk for a laptop and a separate monitor?
Trace both devices with their stands and plugs, then add a separate keyboard and the mouse movement you need. Check the whole arrangement from your normal sitting position. The calculator describes depth only; it does not account for overlapping bases or the width of equipment side by side.
How does a desk converter affect the depth I need?
Include its complete base, keyboard tray and movement on the worktop. The calculator does not model a converter's overhang or travel. Follow the maker's support requirements and check the raised screen and keys from your seated and standing positions.
Sources and calculation notes
Product configurations and source dimensions reviewed in November 2026. The scenario offsets and front-space allowance are illustrative inputs. Calculated results use the formulas above; published product dimensions are identified separately.
- HSE: good posture when using display screen equipment — screen and keyboard arrangement. HSE does not supply the example offsets or the calculator's front-space allowance.
- VASAGLE: ULWD40X dimensions — 100 × 50 cm footprint and 75 cm height; matched to the selected LWD40X configuration.
- VASAGLE: related ULWD47X dimensions — 120 × 60 cm footprint. Its 75 cm height differs from the selected UK listing's 76 cm, as explained above.
The product cards link to the selected Amazon UK configurations. Check the supplied instructions and current variant before ordering. The calculated front-to-back space does not describe how much unoccupied area remains around an individual stand or keyboard.