
Find the full model code first
Read the label on the back or underside of the monitor, or the model information in its on-screen menu. Record the complete code, including suffixes where present. A product family can contain several sizes, panel types and regional versions with different weights and stand designs.
Open the manufacturer’s support page for that exact code and look for specifications, a user guide or a dimensional drawing. Search within the document for “without stand”, “display only”, “panel only” or a similarly defined figure. Keep the source with your measurements so you can check it again if you later add an adapter or change the screen.
The Amazon listing can help identify a product, but the monitor maker’s documentation is the better starting point for interpreting which parts are included in its weight. If two official figures conflict, ask the manufacturer which applies to your exact model and mounting configuration.
Separate the four common figures
Scroll across to compare every column.
| Figure | What it usually describes | Use for an arm? |
|---|---|---|
| Without stand / display only | The screen assembly without the original support | Starting point, after checking the definition |
| With stand | Display plus the supplied stand | Not the bare-screen figure |
| Stand weight | The detached support, if separately specified | Useful only with clearly matching definitions |
| Shipping / package / gross weight | Product plus some or all packaging and accessories | No |
Do not subtract two rounded or differently defined figures and treat the result as a precise published panel weight. A package can include cables, a power supply, brackets and protective materials. If a calculated estimate sits near an arm’s limit, obtain an authoritative figure before choosing the mount.
Include what the arm will actually carry
A VESA adapter attached to the screen adds to the supported load. So can a light, camera or accessory mounted to the display or its plate, if the screen and arm makers permit that attachment. An external power supply resting independently on the desk is a different case from one attached to the monitor.
For an illustrative calculation, a 6.2 kg bare screen plus a 0.4 kg approved adapter gives 6.6 kg carried before any other permitted accessories. Check that total against the arm’s stated configuration. Record the adapter model as well as its weight because added depth can affect the tilt head.
An arm can be unsuitable for a screen that is too light
Gas-assisted arms have a load range, not simply a maximum. Below the minimum, the spring may continue to lift the screen even at its lowest intended tension setting. Above the maximum, the arm is outside its supported load. Adjusting tension cannot turn an out-of-range screen into an approved combination.
Example: the Invision MX200
The current MX200 has a published 2–9 kg range. A verified 6.6 kg supported load is inside that weight envelope, while 1.5 kg or 9.5 kg is outside it. Size, VESA, mounting-plate access, desktop and curvature still need their own checks. Being inside the kilogram range is not a complete compatibility result.
An everyday adjustable screen
Invision MX200
The gas-assisted arm suits a single compatible screen you move between tasks. It frees the desk from a broad stand and gives you a choice of edge clamp or through-desk fixing.
A centred clamp can leave the elbow in the way of the wall. Check whether the clamp can sit to one side while keeping the screen centred. Match the fitting diagram to the base supplied.
- 19–32″
- 2–9 kg
- VESA 75 × 75 or 100 × 100 mm
Example: moving to the MX450
The current MX450 has a 2–15 kg range and a different stated screen-size envelope. It is a candidate when an otherwise suitable display exceeds the smaller arm’s 9 kg maximum, but a deep curved screen needs confirmation for the tilt joint. Do not choose it solely because the maximum number is higher.
A larger or heavier screen
Invision MX450
The MX450 handles a wider size and weight range. It is the shortlist option for a compatible display above the MX200’s 9 kg limit, provided the desktop and tilt head can take it.
The longer arm needs room to move. If your screen is deeply curved, ask Invision to confirm the exact model with the tilt head. Check for the 24–40 inch, 2–15 kg revision.
- 24–40″
- 2–15 kg
- VESA 75 × 75 or 100 × 100 mm
A mechanical pole mount does not use a balancing gas spring, but still has maximum load, size, joint and attachment limits. Compare single monitor arms if you are deciding between mechanisms. For two screens, check each one against its own arm rating and include the entire mount-and-screen load when assessing the desk.
Weighing is a fallback, not a reason to risk the screen
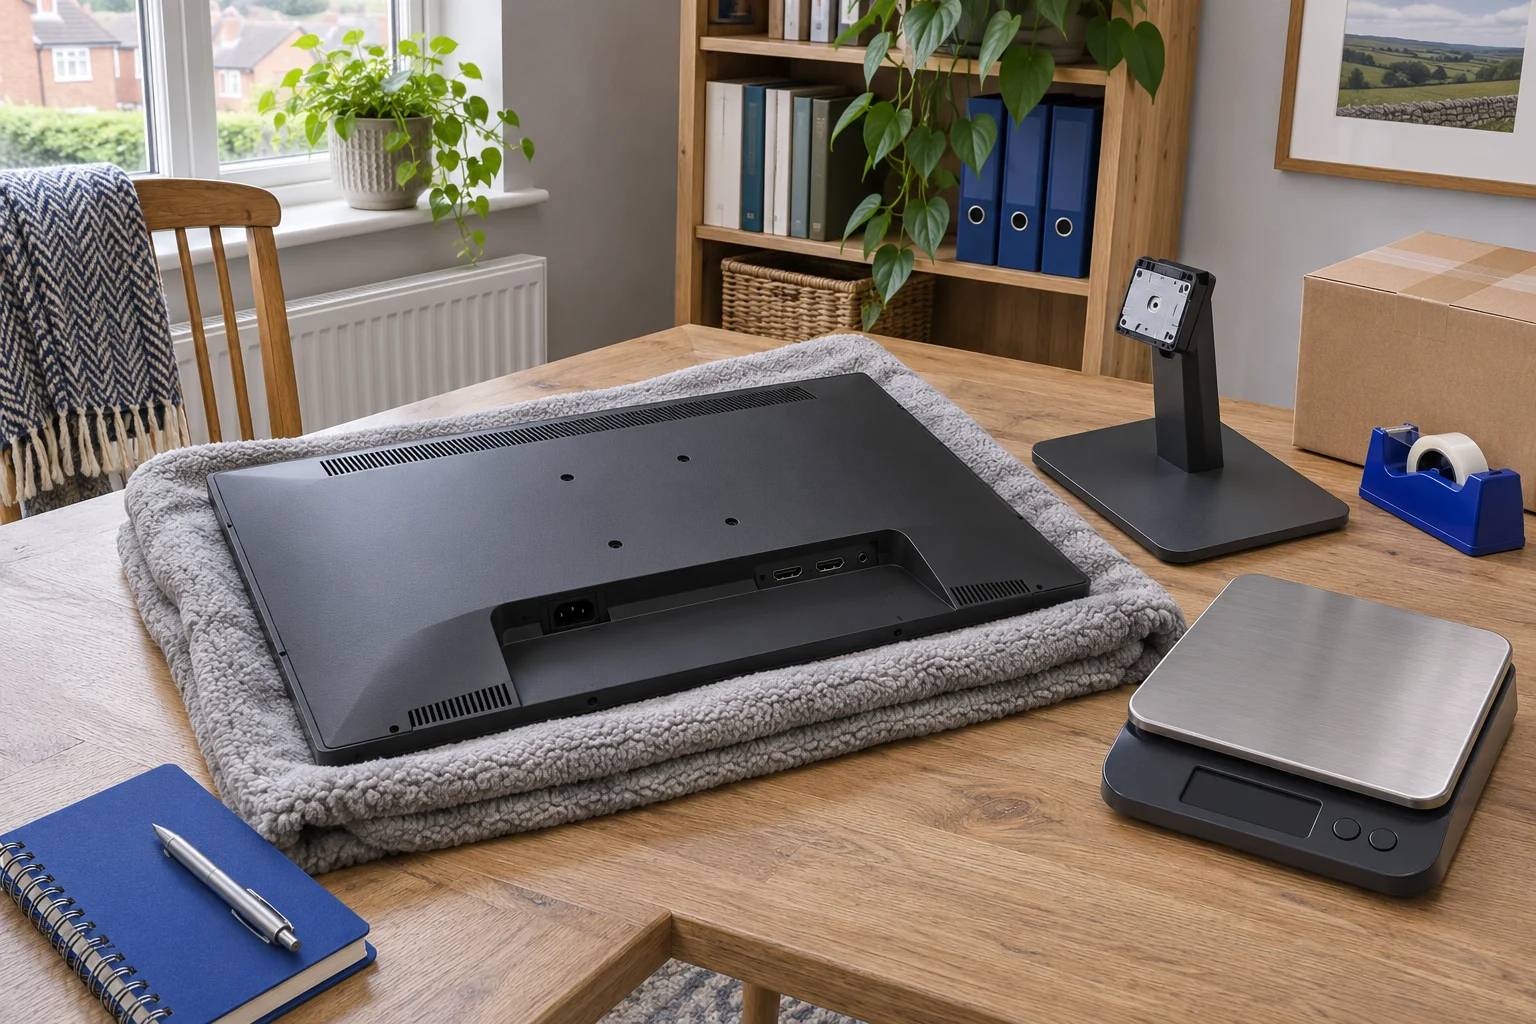
If the maker cannot supply a defined bare-screen figure, ask it for the safe handling and stand-removal procedure. Use that procedure and the help it specifies. A large curved monitor may need to stay in its packaging during assembly and may be damaged if laid flat; the generic hero illustration is not an instruction for every screen shape.
Use a suitable scale and support arrangement that can accommodate the screen safely without pressure on the panel, unstable balancing or lifting beyond what you can manage. Account for any approved support used on the scale using its tare function. If you cannot obtain a reliable measurement safely, get the manufacturer or a suitable professional to confirm it instead of guessing.
Keep the result with the other fit measurements
Record the source or measurement method, what was included and the units. Convert pounds to kilograms carefully when needed: 1 lb is approximately 0.454 kg. Avoid rounding a value down at a published limit. For a result close to the boundary or a configuration with adapters, ask the mount maker to confirm the exact combination.
Finish the check with VESA spacing and plate clearance, clamp geometry and desktop material. Each answers a different question; a correct weight does not approve the fixing or furniture.
Common questions
Should I use monitor weight with or without the stand?
Use the manufacturer-defined bare-screen weight as the starting point, then add adapters and permitted accessories carried by the arm. The original stand is removed for a normal VESA arm installation.
Can I use shipping weight as a safe estimate?
It is not the supported screen weight and can lead to the wrong arm, particularly where a spring has a minimum load. Find a defined display-only figure or ask the manufacturer.
Do I add a VESA adapter’s weight?
Yes, if it is carried by the arm. Also confirm the adapter itself is approved and account for any added depth or leverage when checking the tilt head.
What happens if the monitor is below the minimum load?
A balanced arm may lift the screen instead of holding position. Follow the instructions only within the stated range; do not add improvised ballast to force compatibility.
Is a screen exactly at the maximum acceptable?
Use the manufacturer’s limits and exact configuration, including adapters and permitted accessories. Do not round a weight down. Confirm borderline or uncertain figures with the mount maker before buying.
Sources and selection
Specifications and Amazon UK configurations reviewed in November 2026. Recommendations compare published fit information. Check the current listing and instructions supplied with the exact model.