
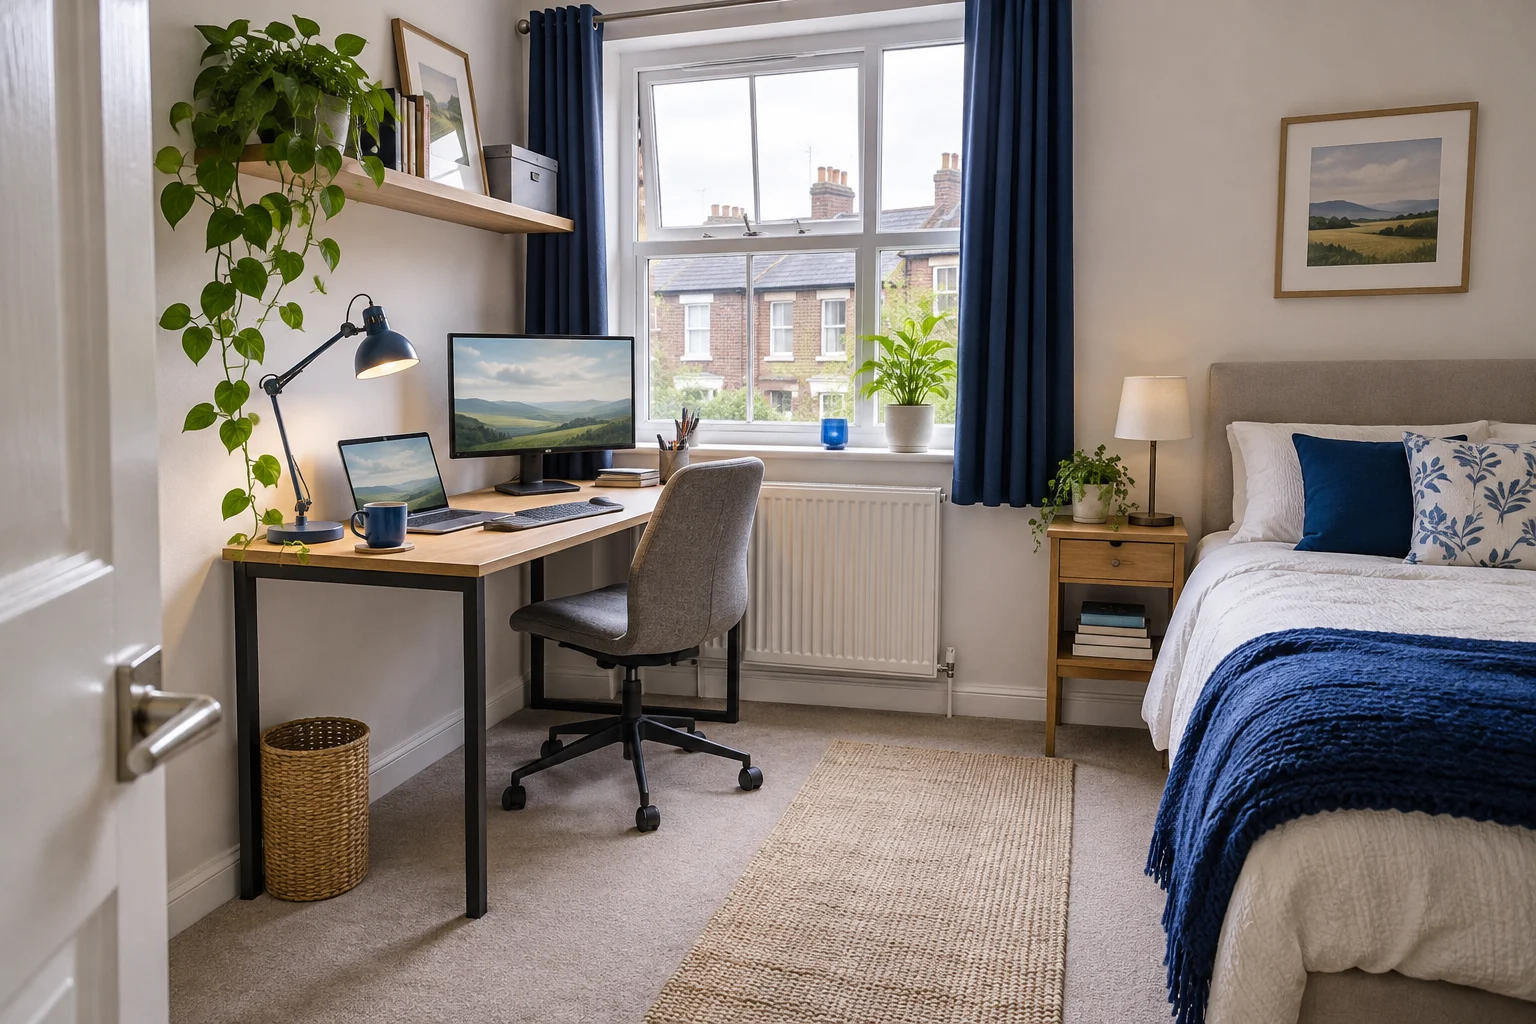
Measure the wall-to-obstruction line
A 50 cm desk does not occupy only 50 cm of a bedroom. Plugs can move its rear edge away from the wall, and the chair extends past the front while you work or stand up. Measure from the wall behind the proposed desk to the nearest bed edge or other obstruction along the line the chair occupies.
Use the projecting bed frame or handle rather than the mattress edge if it is closer. Repeat at more than one position if the furniture is angled. A single depth line cannot describe a whole irregular corner, but it makes the addition transparent before you sketch the wider room.
Mark the desk front and sit in the chair at the intended working height. Measure from that front edge to the chair's rearmost point while working, then while pulling back to stand. Use the larger reach in the working input. For the parked input, measure the rear projection after tucking the chair away. The section below the desk is already inside the desk footprint; adding the chair's full front-to-back length would count that section twice.
Separate occupied depth from the space beyond it

The default calculation gives 6 + 50 + 68 = 124 cm from wall to working-chair boundary. Subtracting that from a measured 180 cm gives 56 cm beyond the chair. With 34 cm of parked projection, the wall-to-chair extent becomes 90 cm, leaving 90 cm on the same line.
Those remaining strips are dimensions to interpret in the room. Neither figure is an approved walkway width. A doorway, drawer, second person or route around a bed can need a different shape and amount of space. Check the complete route in the positions in which you actually use it.
Calculate working and parked footprints
Use your own measurements
Bedroom-corner footprint calculator
Measure along one straight line from the wall towards the bed or opposite obstruction. Chair reach is measured from the desk front, so do not enter the full chair length.
- Working wall-to-chair extent
- 124 cm
- Parked wall-to-chair extent
- 90 cm
- Space beyond working chair
- 56 cm
- Space beyond parked chair
- 90 cm
Rounded working: Working: 6 + 50 + 68 ≈ 124 cm. Parked: 6 + 50 + 34 ≈ 90 cm. Beyond working chair: 180 − 124 ≈ 56 cm. Beyond parked chair: 180 − 90 ≈ 90 cm.
The remaining strip is a one-line dimension, not an approved walkway width. Negative values mean the entered arrangement overlaps the obstruction on this line. Check desk width, door arcs, turning, radiator requirements and the whole route separately. Results are rounded to 0.1 cm.
Six changes to the same corner
The following scenarios use chosen dimensions. They are not room standards or measurements of a named chair. Each comparison holds the other inputs steady so the consequence of one change stays visible.
All measurements are in centimetres. Scroll across on a small screen. Negative differences show a dimensional shortfall.
| Example and inputs | Working wall-to-chair extent | Parked wall-to-chair extent | Space beyond working chair | Space beyond parked chair |
|---|---|---|---|---|
| 50 cm desk; 68 cm working reachWall-to-obstruction distance (cm): 180 Desk depth (cm): 50 Space behind the desk (cm): 6 Working chair reach from desk front (cm): 68 Parked chair reach from desk front (cm): 34 | 124 cm | 90 cm | 56 cm | 90 cm |
| 40 cm desk; same chair reachWall-to-obstruction distance (cm): 180 Desk depth (cm): 40 Space behind the desk (cm): 6 Working chair reach from desk front (cm): 68 Parked chair reach from desk front (cm): 34 | 114 cm | 80 cm | 66 cm | 100 cm |
| 60 cm desk; same chair reachWall-to-obstruction distance (cm): 180 Desk depth (cm): 60 Space behind the desk (cm): 6 Working chair reach from desk front (cm): 68 Parked chair reach from desk front (cm): 34 | 134 cm | 100 cm | 46 cm | 80 cm |
| Increase rear space to 10 cmWall-to-obstruction distance (cm): 180 Desk depth (cm): 50 Space behind the desk (cm): 10 Working chair reach from desk front (cm): 68 Parked chair reach from desk front (cm): 34 | 128 cm | 94 cm | 52 cm | 86 cm |
| Chair needs 90 cm to pull backWall-to-obstruction distance (cm): 180 Desk depth (cm): 50 Space behind the desk (cm): 6 Working chair reach from desk front (cm): 90 Parked chair reach from desk front (cm): 34 | 146 cm | 90 cm | 34 cm | 90 cm |
| Only 110 cm to the bedWall-to-obstruction distance (cm): 110 Desk depth (cm): 50 Space behind the desk (cm): 6 Working chair reach from desk front (cm): 68 Parked chair reach from desk front (cm): 34 | 124 cm | 90 cm | -14 cm | 20 cm |
Changing the desk from 50 to 40 cm deep reduces both footprints by 10 cm. It increases the space beyond the chair by the same amount, provided the chair reach and rear allowance genuinely stay unchanged. A shallower worktop may alter your screen, keyboard or chair position, so remeasure those inputs rather than assuming the saving transfers automatically.
Increasing the rear allowance from 6 to 10 cm adds 4 cm to both occupied extents. Increasing only working chair reach from 68 to 90 cm adds 22 cm to the working footprint; the parked result is unchanged. These changes affect different parts of the day and should not be collapsed into a single “desk fits” statement.
With only 110 cm from wall to bed, the baseline working extent of 124 cm leaves −14 cm. That is 14 cm of overlap on this line. The parked arrangement still leaves 20 cm. It shows why being able to store the chair does not establish enough space to use it.
Keep the measurement origins consistent
Working extent = rear allowance + desk depth + working chair reach from the desk front.
Parked extent = rear allowance + desk depth + parked chair reach from the desk front.
Space beyond the chair = wall-to-obstruction distance − the relevant extent.
Use centimetres throughout: 680 mm is 68 cm. Include skirting, wall plugs and the furniture's greatest projection when establishing the actual desk position. If a cable outlet lets the desk sit closer, measure the completed cable bend before reducing the rear input. Radiator clearances come from the relevant maker's requirements; this calculator does not invent a substitute gap.
If the desk front is curved or angled, choose a marked reference point on the chair's travel line and use it for both chair-reach inputs. For an L-shaped arrangement, calculate a relevant line for each arm of the layout and draw their interaction. The tool does not calculate a turning envelope or solve overlapping rectangles automatically.
Choose the desk after mapping its whole arrangement
Measure the corner's width at the feet and at the top. A projecting sill, skirting board or wardrobe handle can change which furniture point limits the placement. Also map the chair's lateral movement. A depth result can be generous while the chair still cannot turn between a bed and cupboard.
The VASAGLE LWD40X provides a 100 × 50 cm top and a 75 cm surface height in the selected Amazon UK configuration. Its manufacturer lists the same overall dimensions under the related ULWD40X designation. Use the 50 cm depth to mark a rectangle, then add your rear and chair measurements. The catalogue does not supply the installed rear allowance or your seated reach.
For a compact open front
VASAGLE LWD40X writing desk
A 100 × 50 cm surface and open front suit a compact laptop or single-screen arrangement.
Check the rear bracing, the 75 cm working height and the usable depth with cables in place.
- 100 × 50 cm top
- 75 cm worktop
- Open front with rear bracing
An open front leaves the seating position easier to vary than a bay bounded by cupboards, but the rear bracing and leg opening still need checking. Use the under-desk worksheet for vertical obstructions and the chair-clearance guide for arm and base widths. The room footprint cannot answer those questions.
Place the screen, keyboard and cables within the footprint
Keep the equipment plan separate from the room-depth sum. HSE's laptop arrangement guidance illustrates a raised laptop with separate input devices for prolonged use. Check that the chosen stand, open laptop, keyboard and mouse can share the worktop without pushing the chair farther back than the entered working reach.
The fixed silver Rain Design mStand is published as 25.3 cm wide, 19 cm deep and 15 cm high. Those are stand dimensions. An open laptop, rear hinge and connected plug can extend beyond that footprint; the 19 cm stand depth is not the complete equipment depth. It also does not turn the room calculator into an eye-to-screen-distance calculation.
A fixed-height stand
Rain Design mStand, silver
The standard mStand uses a rigid aluminium body and a rear cable opening. Its fixed lift suits a laptop that stays in the same position most days.
The base is about 19 × 25.3 cm. Check that your laptop sits on the pads with the lid open, and allow depth for its case and connected plugs.
- 19 × 25.3 cm base
- About 15 cm lift
- Fixed angle
Check reflections at your normal work times and keep window and blind controls reachable. Route cables along an accessible edge, outside the chair's castor path and the route around the bed. Avoid relying on moving a lead across the walkway every time you stand up. The desk-depth calculator helps compare surface in front of a screen with the equipment allowance you enter.
Check the whole route in both states
Use floor markings for the calculated working and parked boundaries, then move the actual chair through the change. Open bedroom and wardrobe doors, extend drawers and check access to the far side of the bed. Include handles, bedding that projects beyond the frame and items normally stored on the floor.
Record the smallest space along the route rather than only beside the centre of the desk. If the chair swings out while you stand, the turning movement can extend sideways beyond the straight depth measurement. A calculation with spare depth can still leave that movement obstructed.
For an evening reset, decide where the keyboard, stand and charger remain. Recheck the parked projection with those items stored, and keep the route to the door usable in that final arrangement. If the footprint is too large, change one measured element and recalculate: desk depth, actual chair projection or the furniture location. The shared-room guide and wardrobe-side setup guide cover the adjoining tasks.
Common bedroom-corner questions
How much space does the default bedroom setup occupy?
The illustrative working arrangement occupies 124 cm: 6 cm rear space, 50 cm desk depth and 68 cm chair reach from the desk front. Within 180 cm to the bed, 56 cm remains on that line.
Should I enter the chair’s full front-to-back length?
Enter only the reach beyond the front worktop edge in each state. The part of the chair below the desk is already inside the desk depth, so adding the full chair length can count it twice.
Does the remaining space count as a suitable walkway?
The output is a one-line dimension, not an approved route width. Check door arcs, turning, passing, access around the bed and any requirements relevant to the actual room.
What does a negative remainder mean?
The entered desk, rear allowance and chair reach extend beyond the measured wall-to-obstruction distance. A result of −14 cm means 14 cm of overlap along that line.
Can I reduce rear space or desk depth to make the corner fit?
Recalculate using the actual furniture, plugs and required clearances. A shallower top or smaller rear gap may alter screen placement and chair reach, so remeasure the complete arrangement.
Sources and calculation notes
Product configurations and sources reviewed in November 2026. The six layouts use illustrative room dimensions and chair reaches. Product dimensions are identified separately from those chosen inputs.
- VASAGLE manufacturer dimensions — the related ULWD40X designation is shown as 100 × 50 × 75 cm; the selected UK LWD40X listing gives those dimensions too.
- Rain Design mStand dimensions — standard fixed stand, separate from the complete laptop-and-plug envelope.
- HSE workstation guidance — screen and laptop arrangement, not the example chair reaches or a circulation-width rule.
The calculator accepts finite, non-negative reaches and rear gaps, with positive desk and available depths. An occupied extent greater than the available depth is retained as a negative remainder so the overlap stays visible. Measure width, access, body position and furniture requirements separately.