
Start with the arm you actually own
Find the model label or original manual on the existing arm. Record the exact revision if it is shown. Inspect the clamp, joints, plate and quick-release catch using the maker’s instructions. A damaged thread, missing retaining screw or part that no longer locks properly needs the maker’s advice before you fit a heavier or different screen.
Find the new monitor’s weight without its original stand and its supported mounting arrangement in the monitor manual. Include any approved adapter, spacer and accessory that the arm must carry. Check both the lower and upper load limits of a balanced arm. A much lighter replacement can be outside its adjustment range too.
Compare the complete compatibility limits
The Invision MX200 lists 19–32 inch screens and a 2–9 kg load range. It is a useful example of an arm with a minimum as well as a maximum. Check screen shape and any model-specific approval if the new display is curved, unusually deep or outside the stated size range.
An everyday adjustable screen
Invision MX200
The gas-assisted arm suits a single compatible screen you move between tasks. It frees the desk from a broad stand and gives you a choice of edge clamp or through-desk fixing.
A centred clamp can leave the elbow in the way of the wall. Check whether the clamp can sit to one side while keeping the screen centred. Match the fitting diagram to the base supplied.
- 19–32″
- 2–9 kg
- VESA 75 × 75 or 100 × 100 mm
For example, a new screen weighing 7 kg without its stand may pass the mass check, but a deep curve can increase leverage at the tilt joint. Confirm the exact configuration with the arm maker if the manual requires it. Screen diagonal, weight and geometry each answer a different part of the fit check.
Check the plate, recess and screws
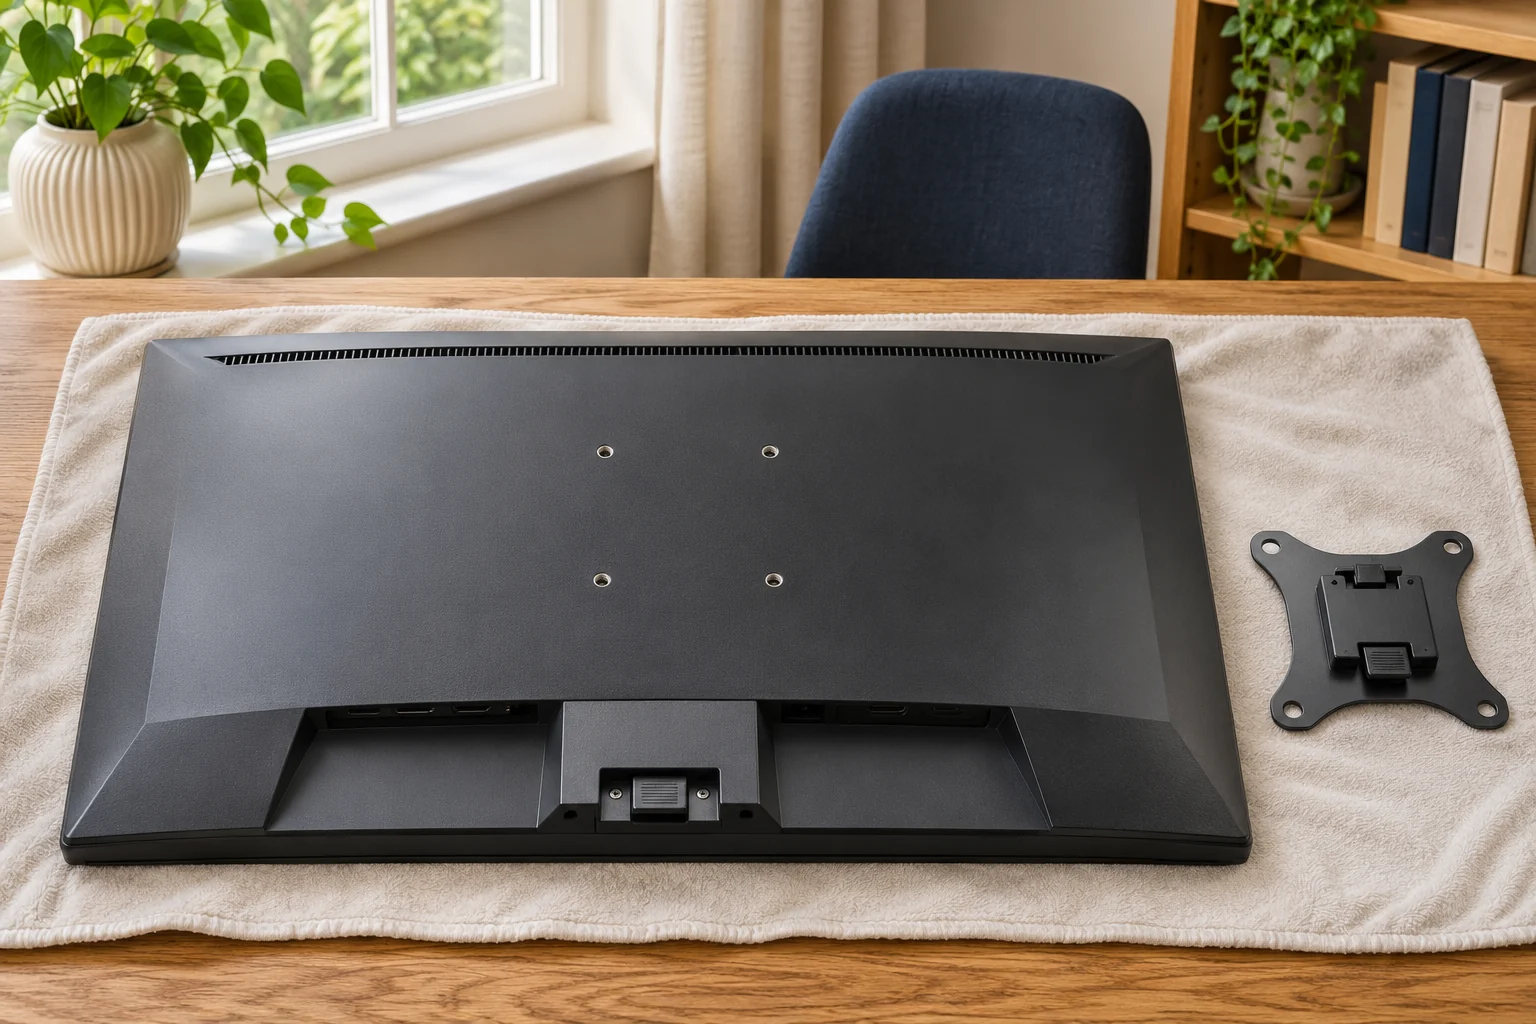
Measure the new monitor’s mounting holes across and down. Check the plate’s outside dimensions against any recess and look for ports or moulded covers beside it. Use the monitor maker’s specified screw size and insertion depth with the arm’s permitted plate and spacers. Keep all quick-release retention parts required by the arm manual.
The MX450 illustrates a different published window of 24–40 inches and 2–15 kg, with 75 or 100 mm VESA patterns. Its larger load window is one reason to compare another arm if the existing one is unsuitable, but it still needs all the same plate, geometry and desk checks.
A larger or heavier screen
Invision MX450
The MX450 handles a wider size and weight range. It is the shortlist option for a compatible display above the MX200’s 9 kg limit, provided the desktop and tilt head can take it.
The longer arm needs room to move. If your screen is deeply curved, ask Invision to confirm the exact model with the tilt head. Check for the 24–40 inch, 2–15 kg revision.
- 24–40″
- 2–15 kg
- VESA 75 × 75 or 100 × 100 mm
Recheck the desk and the final movement
Follow the makers’ screen-removal and mounting instructions, including supporting the display while releasing it. Recheck the desk material and the approved clamp or through-desk fixing before loading the new monitor. A different screen can change both the total load and how far you extend the arm.
Set the screen at a useful viewing height and run the leads through the full intended movement. Check connector access in portrait and landscape if you use both. Keep enough slack at the furthest reach and avoid feeding a loop into a joint. Adjust the balance only using the exact arm’s instructions and normal adjustment range.
Common questions
Can I reuse an arm just because the VESA holes match?
Also check the arm’s load window, screen-size approval, plate clearance, hardware and the new monitor’s shape.
Should I use the weight with the original stand?
Use the mounted configuration. The monitor’s weight without its removed stand is the usual starting point.
Do I need the old screen’s screws?
Use the new monitor maker’s specified screw size and depth for the approved arm plate and spacers.
Can a lighter monitor be incompatible?
A balanced arm may have a minimum load. Check the lower limit as well as the maximum.
What should I inspect on the existing arm?
Follow the manual for checking the clamp, joints, plate and retention parts, and ask the maker about damaged or missing parts.
Sources and selection
Sources and Amazon UK listings checked in November 2026. This guide uses published specifications, manufacturer instructions and measurements to take in your own setup.