
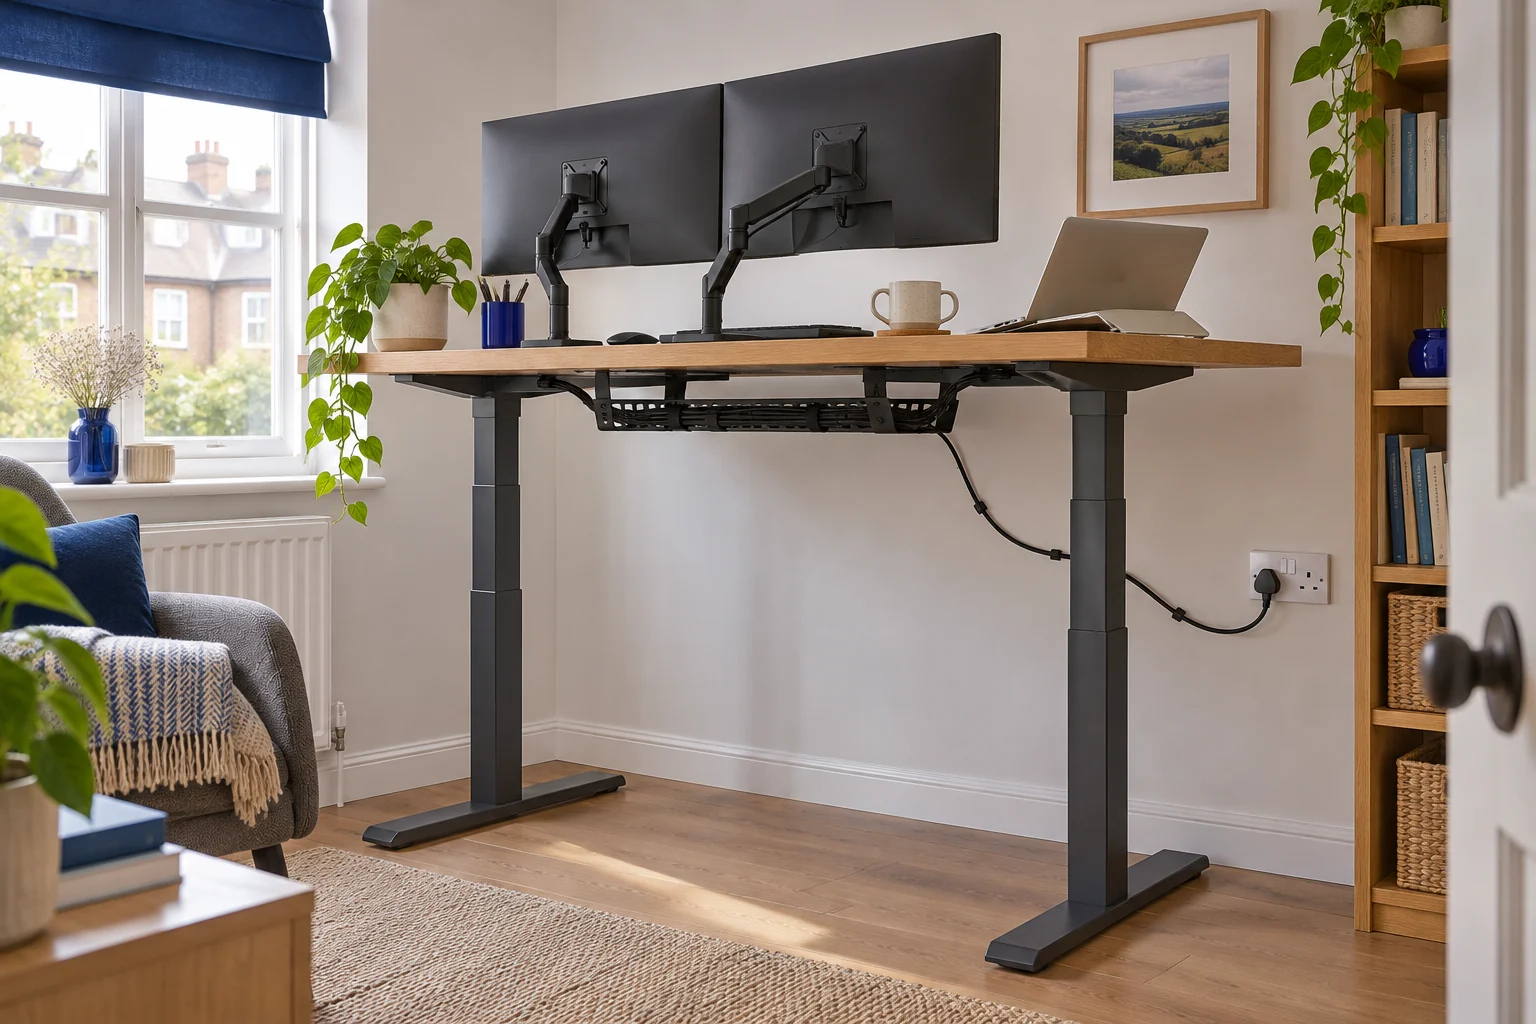
Separate the moving and fixed cable runs
Start by listing where each cable begins and ends. A monitor and laptop dock on the desktop rise together. A floor-standing computer, wall socket and fixed network jack stay put. Mark any cable that crosses from one group to the other. Those are the leads that need to cover the desk’s travel.
If a desk-mounted tray is approved, you can give some moving equipment a home beneath the top. Keep plugs accessible, allow for airflow and follow the desk and electrical equipment instructions. A fixed desktop tower may still have several leads that need their own route. Count them before choosing a channel or sleeve.
The FlexiSpot E1 Plus white 100 × 60 cm version illustrates how much the footprint and moving frame matter on a small desk. Note where the control panel, motor cable and rails sit on your exact configuration. Use the standing desk buying guide to compare the surface and height range first.
A one-piece top
FlexiSpot E1 Plus 100 × 60
The 100 × 60 cm E1 Plus version pairs a single-piece white top with four memory settings.
The seller’s height range starts at 73.5 cm. Match that minimum to your seated keyboard target and confirm the assembled floor-to-top range if you are close to either limit.
- 100 × 60 cm top
- 73.5–118 cm listed height
- Four presets
Measure the longest route before tying cables
Trace the intended route with string from the fixed outlet to the cable’s first moving support. Use the desk maker’s instructions for moving the desk with the area clear. Measure at the highest position the desk can safely reach, including the lateral offset and the bend near each end. The change in worktop height alone cannot tell you how long the lead needs to be.
For example, if the route measures 155 cm at standing height with gentle bends but the lead reaches only 140 cm, a tighter bend at the socket gives you very little useful length. Change the route or use an appropriately rated lead approved for the equipment. Then check where the extra length goes at the lowest setting. Keep the loop clear of castors, feet and the lifting frame.
Allow some independent movement for a monitor arm too. Test its furthest normal position with the desk raised. Cables should reach all positions without tension at their connectors.
Check the tray against the moving frame
The screw-fit Duronic CMH1 can keep the top edge clear if the desk maker approves a location and screw length. Hold a cardboard outline at the proposed mounting spot with the desk stationary. Look for clearance around the motor, crossbeam, handset leads and attachment points.
For an approved screw fixing
Duronic CMH1 screw-fit cable tray
The open mesh basket supports a cable run under the top and leaves the desk edge free.
Confirm the fixing location and screw length with the desk maker. Measure the basket space with the plugs fitted.
- Screw-fit
- Approx. 43 × 16 × 11.5 cm outer
- Open steel mesh
The tray can reduce knee clearance when the desk is lowered. Check the tray, its loaded contents and any plugs or cables that protrude. If the top has no approved screw area, see the no-drill guide for a clamp arrangement. It still needs a clear edge and a path outside the lifting parts.
Test the route from seated to standing
Follow the desk’s instructions and keep people and furniture clear while it travels. Observe from the side and be ready to stop if a lead straightens, the tray nears an obstacle or a loop feeds into the frame. Check low, high and intermediate positions because a loop can bow out most halfway through. Once the travel is clear, try the normal chair and monitor positions and inspect the route again after any equipment change.
Use an extension lead within its rating and keep it accessible. Electrical Safety First advises against plugging one extension into another. If your setup needs more wall sockets, discuss that with a qualified electrician or the property manager.
Label the lead that runs to the fixed outlet before changing the setup. If you use a sleeve, confirm you can inspect or remove individual cords without dismantling the whole run. Keep the sleeve out of the frame and follow the equipment instructions for how the cables can be grouped.
If several leads need to move together, choose a cable sleeve by usable diameter and travel.
Common questions
How much extra cable do I need for a standing desk?
Measure the intended route at the highest setting, including bends and the distance to the wall. Check that the excess stays clear of the frame and chair at the lowest setting.
Should the extension block move with the desk?
It can if the desk and tray makers allow it and the block stays accessible. Check the single cable to the outlet through the full height range.
Can I run the cable down a standing-desk leg?
Use an approved route with room for travel. Keep leads clear of telescoping parts, pinch points and feet.
How do I test a monitor arm on a standing desk?
Check the longest cable route at the highest desk setting and furthest normal screen position. Check again when the desk and screen are parked.
Where should a cable loop sit when the desk is low?
Give it a clear place to hang or curve away from moving parts and walking space. The loop should keep a relaxed bend at both ends.
Sources and selection
Sources and Amazon UK listings checked in November 2026. This guide uses published specifications and fitting guidance.