
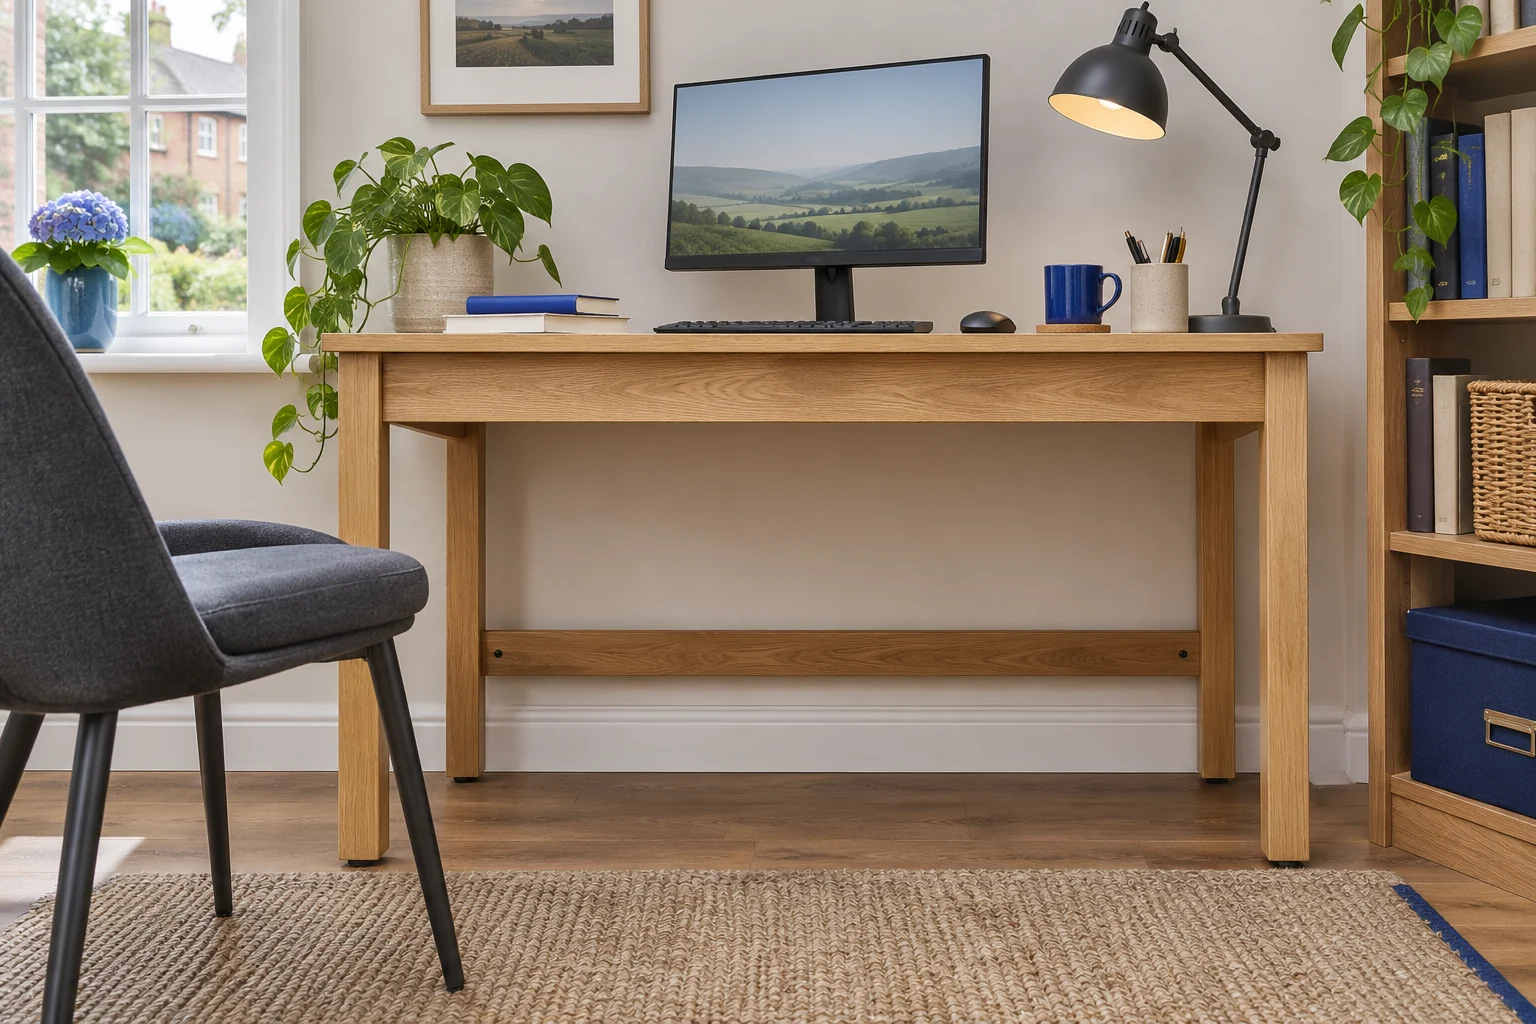
Record several heights on the seating path
A desk's listed height normally describes its top surface. The opening below it can change as you move in: a front rail, a drawer farther back and a rear cable tray can each create a different underside. Start with the chair set for your keyboard position, then trace the actual path of your thighs, knees and chair parts.
Measure directly from the finished floor to each obstruction where possible. Record its distance behind the front edge as well as its height. If you calculate from furniture dimensions instead, separate the slab thickness from any extra drop below it. A drawer's total top-to-bottom measurement may already include the slab; subtracting the slab again would understate the clearance.
The worksheet below compares three entered stations on one seating path. Its lowest result is the minimum of those stations, not proof that every other fastener or cable has been accounted for. Repeat it for a different seating position where drawers or cupboards are asymmetric.
See why height does not establish usable depth

A 75 cm top with a 3 cm slab has a plain underside at 72 cm. Add a rail dropping 2 cm below the slab and its lowest point is 70 cm. A drawer dropping 7 cm below the slab leaves 65 cm; a rear obstruction dropping 4 cm leaves 68 cm.
The drawer is the lowest of those three entered stations, but it does not follow that the desk offers 65 cm of usable depth. That is a different direction. At the entered knee level, a stop 42 cm behind the front edge falls 3 cm short of a chosen 45 cm reach. At foot level, a 35 cm clear depth falls 5 cm short of a chosen 40 cm reach. Each comparison identifies its own constraint.
Compare heights, knee depth and foot depth
Use your own measurements
Under-desk obstruction worksheet
Compare three vertical stations on the intended seating path, then compare knee and foot depth independently. Drops start below the slab, not at the top surface.
- Height at front station
- 70 cm
- Height at drawer station
- 65 cm
- Height at rear station
- 68 cm
- Lowest entered station
- 65 cm
- Knee-depth difference
- -3 cm
- Foot-depth difference
- -5 cm
Rounded working: Front: 75 − 3 − 2 ≈ 70 cm. Drawer: 75 − 3 − 7 ≈ 65 cm. Rear: 75 − 3 − 4 ≈ 68 cm. Lowest entered station: 65 cm. Knee depth: 42 − 45 ≈ -3 cm. Foot depth: 35 − 40 ≈ -5 cm.
Height outputs locate furniture surfaces; they are not a body-clearance verdict. Depth differences are available minus your entered requirement: positive is spare depth, zero exactly meets the entered requirement and negative is a shortfall. Compare body height, chair width, movement and access separately. Results are rounded to 0.1 cm.
Six obstruction layouts with different consequences
The examples below use illustrative measurements. Required knee and foot reaches are chosen inputs that include the allowance for movement you decide to plan; they are not ergonomic standards. Load a row to reproduce all nine inputs in the worksheet.
All measurements are in centimetres. Scroll across on a small screen. Negative differences show a dimensional shortfall.
| Example and inputs | Height at front station | Height at drawer station | Height at rear station | Lowest entered station | Knee-depth difference | Foot-depth difference |
|---|---|---|---|---|---|---|
| Drawer limits height; depths fall shortWorktop surface above floor (cm): 75 Slab thickness (cm): 3 Extra drop at the front (cm): 2 Extra drop at the drawer station (cm): 7 Extra drop at the rear station (cm): 4 Clear depth at knee level (cm): 42 Your required knee reach (cm): 45 Clear depth at foot level (cm): 35 Your required foot reach (cm): 40 | 70 cm | 65 cm | 68 cm | 65 cm | -3 cm | -5 cm |
| No drawer below the slabWorktop surface above floor (cm): 75 Slab thickness (cm): 3 Extra drop at the front (cm): 2 Extra drop at the drawer station (cm): 0 Extra drop at the rear station (cm): 4 Clear depth at knee level (cm): 42 Your required knee reach (cm): 45 Clear depth at foot level (cm): 35 Your required foot reach (cm): 40 | 70 cm | 72 cm | 68 cm | 68 cm | -3 cm | -5 cm |
| A deeper front apronWorktop surface above floor (cm): 75 Slab thickness (cm): 3 Extra drop at the front (cm): 10 Extra drop at the drawer station (cm): 7 Extra drop at the rear station (cm): 4 Clear depth at knee level (cm): 42 Your required knee reach (cm): 45 Clear depth at foot level (cm): 35 Your required foot reach (cm): 40 | 62 cm | 65 cm | 68 cm | 62 cm | -3 cm | -5 cm |
| More knee space; same foot stopWorktop surface above floor (cm): 75 Slab thickness (cm): 3 Extra drop at the front (cm): 2 Extra drop at the drawer station (cm): 7 Extra drop at the rear station (cm): 4 Clear depth at knee level (cm): 48 Your required knee reach (cm): 45 Clear depth at foot level (cm): 35 Your required foot reach (cm): 40 | 70 cm | 65 cm | 68 cm | 65 cm | 3 cm | -5 cm |
| Move the foot obstruction farther backWorktop surface above floor (cm): 75 Slab thickness (cm): 3 Extra drop at the front (cm): 2 Extra drop at the drawer station (cm): 7 Extra drop at the rear station (cm): 4 Clear depth at knee level (cm): 48 Your required knee reach (cm): 45 Clear depth at foot level (cm): 45 Your required foot reach (cm): 40 | 70 cm | 65 cm | 68 cm | 65 cm | 3 cm | 5 cm |
| Required depths exactly meet stopsWorktop surface above floor (cm): 75 Slab thickness (cm): 3 Extra drop at the front (cm): 2 Extra drop at the drawer station (cm): 7 Extra drop at the rear station (cm): 4 Clear depth at knee level (cm): 42 Your required knee reach (cm): 42 Clear depth at foot level (cm): 35 Your required foot reach (cm): 35 | 70 cm | 65 cm | 68 cm | 65 cm | 0 cm | 0 cm |
Removing the example drawer's extra drop changes that station from 65 to 72 cm. The lowest remaining entered station becomes the rear obstruction at 68 cm. The knee and foot depth differences stay at −3 and −5 cm because no horizontal obstruction moved. More vertical space alone does not solve the entered depth shortfalls.
A front apron dropping 10 cm below the slab instead leaves 62 cm at the front. That becomes the lowest station even though the drawer remains at 65 cm. Check entry as well as the eventual sitting position: an obstruction at the edge can prevent reaching space that is larger farther in.
The fourth row increases available knee depth from 42 to 48 cm. Its knee difference becomes +3 cm, while foot depth remains −5 cm. The fifth row also increases clear foot depth to 45 cm, producing +5 cm there. None of those depth changes alters the three height results.
The final row returns zero for both depth differences because each requirement exactly reaches its obstruction. Zero is a boundary, with no extra distance beyond the requirement entered. If your chosen requirement already includes movement space, keep that definition in your notes; do not silently replace it with a bare body dimension when comparing another desk.
Use a consistent origin for every subtraction
Height at a station = worktop surface height − slab thickness − extra drop below the slab at that station.
Lowest entered height = the smallest of the front, drawer and rear station results.
Knee-depth difference = clear knee depth − your entered knee reach.
Foot-depth difference = clear foot depth − your entered foot reach.
All heights start at the same finished floor. All horizontal depths start at the front worktop edge on the seating line and run backwards. Measure the required reach from that same edge while in the intended working position. A knee measurement taken from the seat back is not directly comparable with an opening measured from the worktop front.
If the chair or floor mat moves to a different surface, remeasure the vertical relationship. For an adjustable desk, use the actual intended setting, then follow its instructions to check the movement zone separately. The worksheet does not evaluate moving frames or collision detection.
The validation rejects missing, negative or non-finite entries and vertical drops that would leave no height above the floor. Zero extra drop means no added obstruction below the slab at that station. Zero horizontal allowance is mathematically accepted, but it does not describe useful body room by itself. Valid inputs produce dimensions, not a general fit verdict.
Measure the first obstruction at knee and foot level
At your seated knee height, measure from the front edge to the first point that would contact your planned knee position or movement. Repeat at the relevant foot, toe or footrest height. A rear brace can stop toes below a drawer that the knees never reach. A storage box may change only one level. Keep separate notes for those stops rather than taking the desk's overall depth as usable leg depth.
The VASAGLE LWD40X has a 100 × 50 cm top with a 75 cm worktop in the selected UK configuration. The maker shows the related ULWD40X with the same overall dimensions. The 50 cm dimension is external furniture depth; it is not a published 50 cm clear knee or foot opening. Check the installed rear bracing, leg positions and any cable route against your actual seating line.
For a compact open front
VASAGLE LWD40X writing desk
A 100 × 50 cm surface and open front suit a compact laptop or single-screen arrangement.
Check the rear bracing, the 75 cm working height and the usable depth with cables in place.
- 100 × 50 cm top
- 75 cm worktop
- Open front with rear bracing
If you use a footrest, include its complete footprint and the space needed to place or adjust it. Check the chair base as well as your feet. A footrest that meets a body-position need can still intercept a castor before the chair reaches the keyboard. The chair-to-desk worksheet handles the corresponding arm and base-width differences.
Map the bay around drawers and cupboards
Measure between the inside supports at the heights used by the chair arms, seat and castors. A top can be wide while the seating bay is offset to one side. Centre the keyboard over the bay you can actually occupy, then recheck whether drawers, cupboard doors and adjacent furniture remain accessible.
The white IKEA MICKE 099.030.14 combination has a 105 × 50 cm footprint, a 75 cm worktop and 140 cm overall height with its high add-on. The drawer and side cupboard change the opening beneath that top. Those overall dimensions do not establish the clear chair bay, drawer underside or usable knee depth.
Storage above the desk
IKEA MICKE with hutch
The white MICKE combination adds an upper shelving unit, a drawer and side storage to a 105 × 50 cm footprint.
Allow 140 cm overall height and check the shelf opening, chair bay and cable outlet. Confirm clamp compatibility with IKEA for the exact worktop and position.
- 105 × 50 cm footprint
- 75 cm worktop
- 140 cm overall
Check the selected Amazon UK offer includes the intended combination; its title abbreviates the configuration to a 105 × 50 cm white desk. Use the product imagery, included components and the exact maker numbers together. A plain desk and a desk with the high add-on share some dimensions but differ substantially above the worktop.
For a storage-heavy layout, record the width and depth lost at each station before choosing a pedestal or bin. The small desks with drawers guide compares the furniture question; this worksheet helps separate which part of the opening is reduced.
Recheck after adding trays, leads or storage
A cable tray, keyboard shelf or clamp can change the lowest height and the first horizontal stop. Include plugs above the tray, hanging leads below it and the space needed to reach connectors. The metal basket alone may not be the lowest component once it is loaded.
Mark proposed positions before installing accessories. Check the chair's approach, your seated position, foot movement and standing-up route with the intended items in place. A soft floor outline can help visualise placement; it does not reproduce a rigid obstruction or replace the final checks after fitting.
With a slide-out keyboard tray, record the runners and clamps in both stored and extended positions. Use the typing position to set the chair and body measurements. See clamp-on keyboard trays and cable trays for the specific mounting checks.
Common under-desk questions
Is worktop height the same as underside clearance?
Worktop height ends at the top surface. Subtract slab thickness and the additional drop at the relevant station, or measure directly from the floor to the obstruction.
Where do I measure a drawer’s extra drop from?
From the plain slab underside to the lowest drawer or runner on your seating path. If you already have the total top-to-obstruction distance, do not subtract the slab a second time.
Why do knee and foot depth need separate measurements?
The first obstruction can differ by height. A drawer, brace, footrest or stored item can limit one level while leaving more room at the other. Measure both from the same front worktop edge.
Does removing a drawer solve the worksheet’s depth shortfall?
Only if it actually moves the horizontal stop relevant to that depth. Removing a vertical drop alone changes height; the knee and foot depth inputs stay unchanged until you remeasure them.
Does the lowest entered height establish that I fit underneath?
It is the minimum of three entered furniture heights on the chosen path. Compare your body and chair at their working positions, include other obstructions and allow for movement separately.
Sources and measurement notes
Product configurations and sources reviewed in November 2026. The six obstruction layouts and required reaches are illustrative inputs. No named product is assigned an unverified clear opening.
- HSE workstation guidance and DSE checklist — the wider workstation arrangement. They do not supply the example drawer drops or required reaches.
- VASAGLE overall dimensions — related maker designation ULWD40X, matched with the selected UK LWD40X listing. Overall size is distinguished from the unmeasured opening.
- IKEA MICKE combination and base desk — combination components and overall dimensions. The clear bay and underside positions need separate measurements.